
Expert Feature: How to Fix a Cracked or Broken iPhone 5 Screen Yourself
(*NOTE: Please see disclaimer at the end of this post before attempting this.)
The Smack-down
I’ve had my iPhone 5 for 18 months, and still have another 6 months to go on the contract.
It’s been a good phone, and I’ve even dropped it a couple times just putting in a couple nicks in the case.
Unfortunately, the other day, it slipped out of my hand and smacked flat, face down on the concrete.

Yeesh. Smashed screen.
Amazingly, it still worked fine. But reading fine text (text messages or e-mail) was difficult.
I had to keep scrolling up and down to avoid the cracks just to read stuff. In direct sunlight, it was impossible to read.
Since I still have several months left on my contract, I couldn’t upgrade without paying full boat. Rats.
Doing a little research, however, I discovered that there are screen repair kits available on Amazon.com. Who knew?
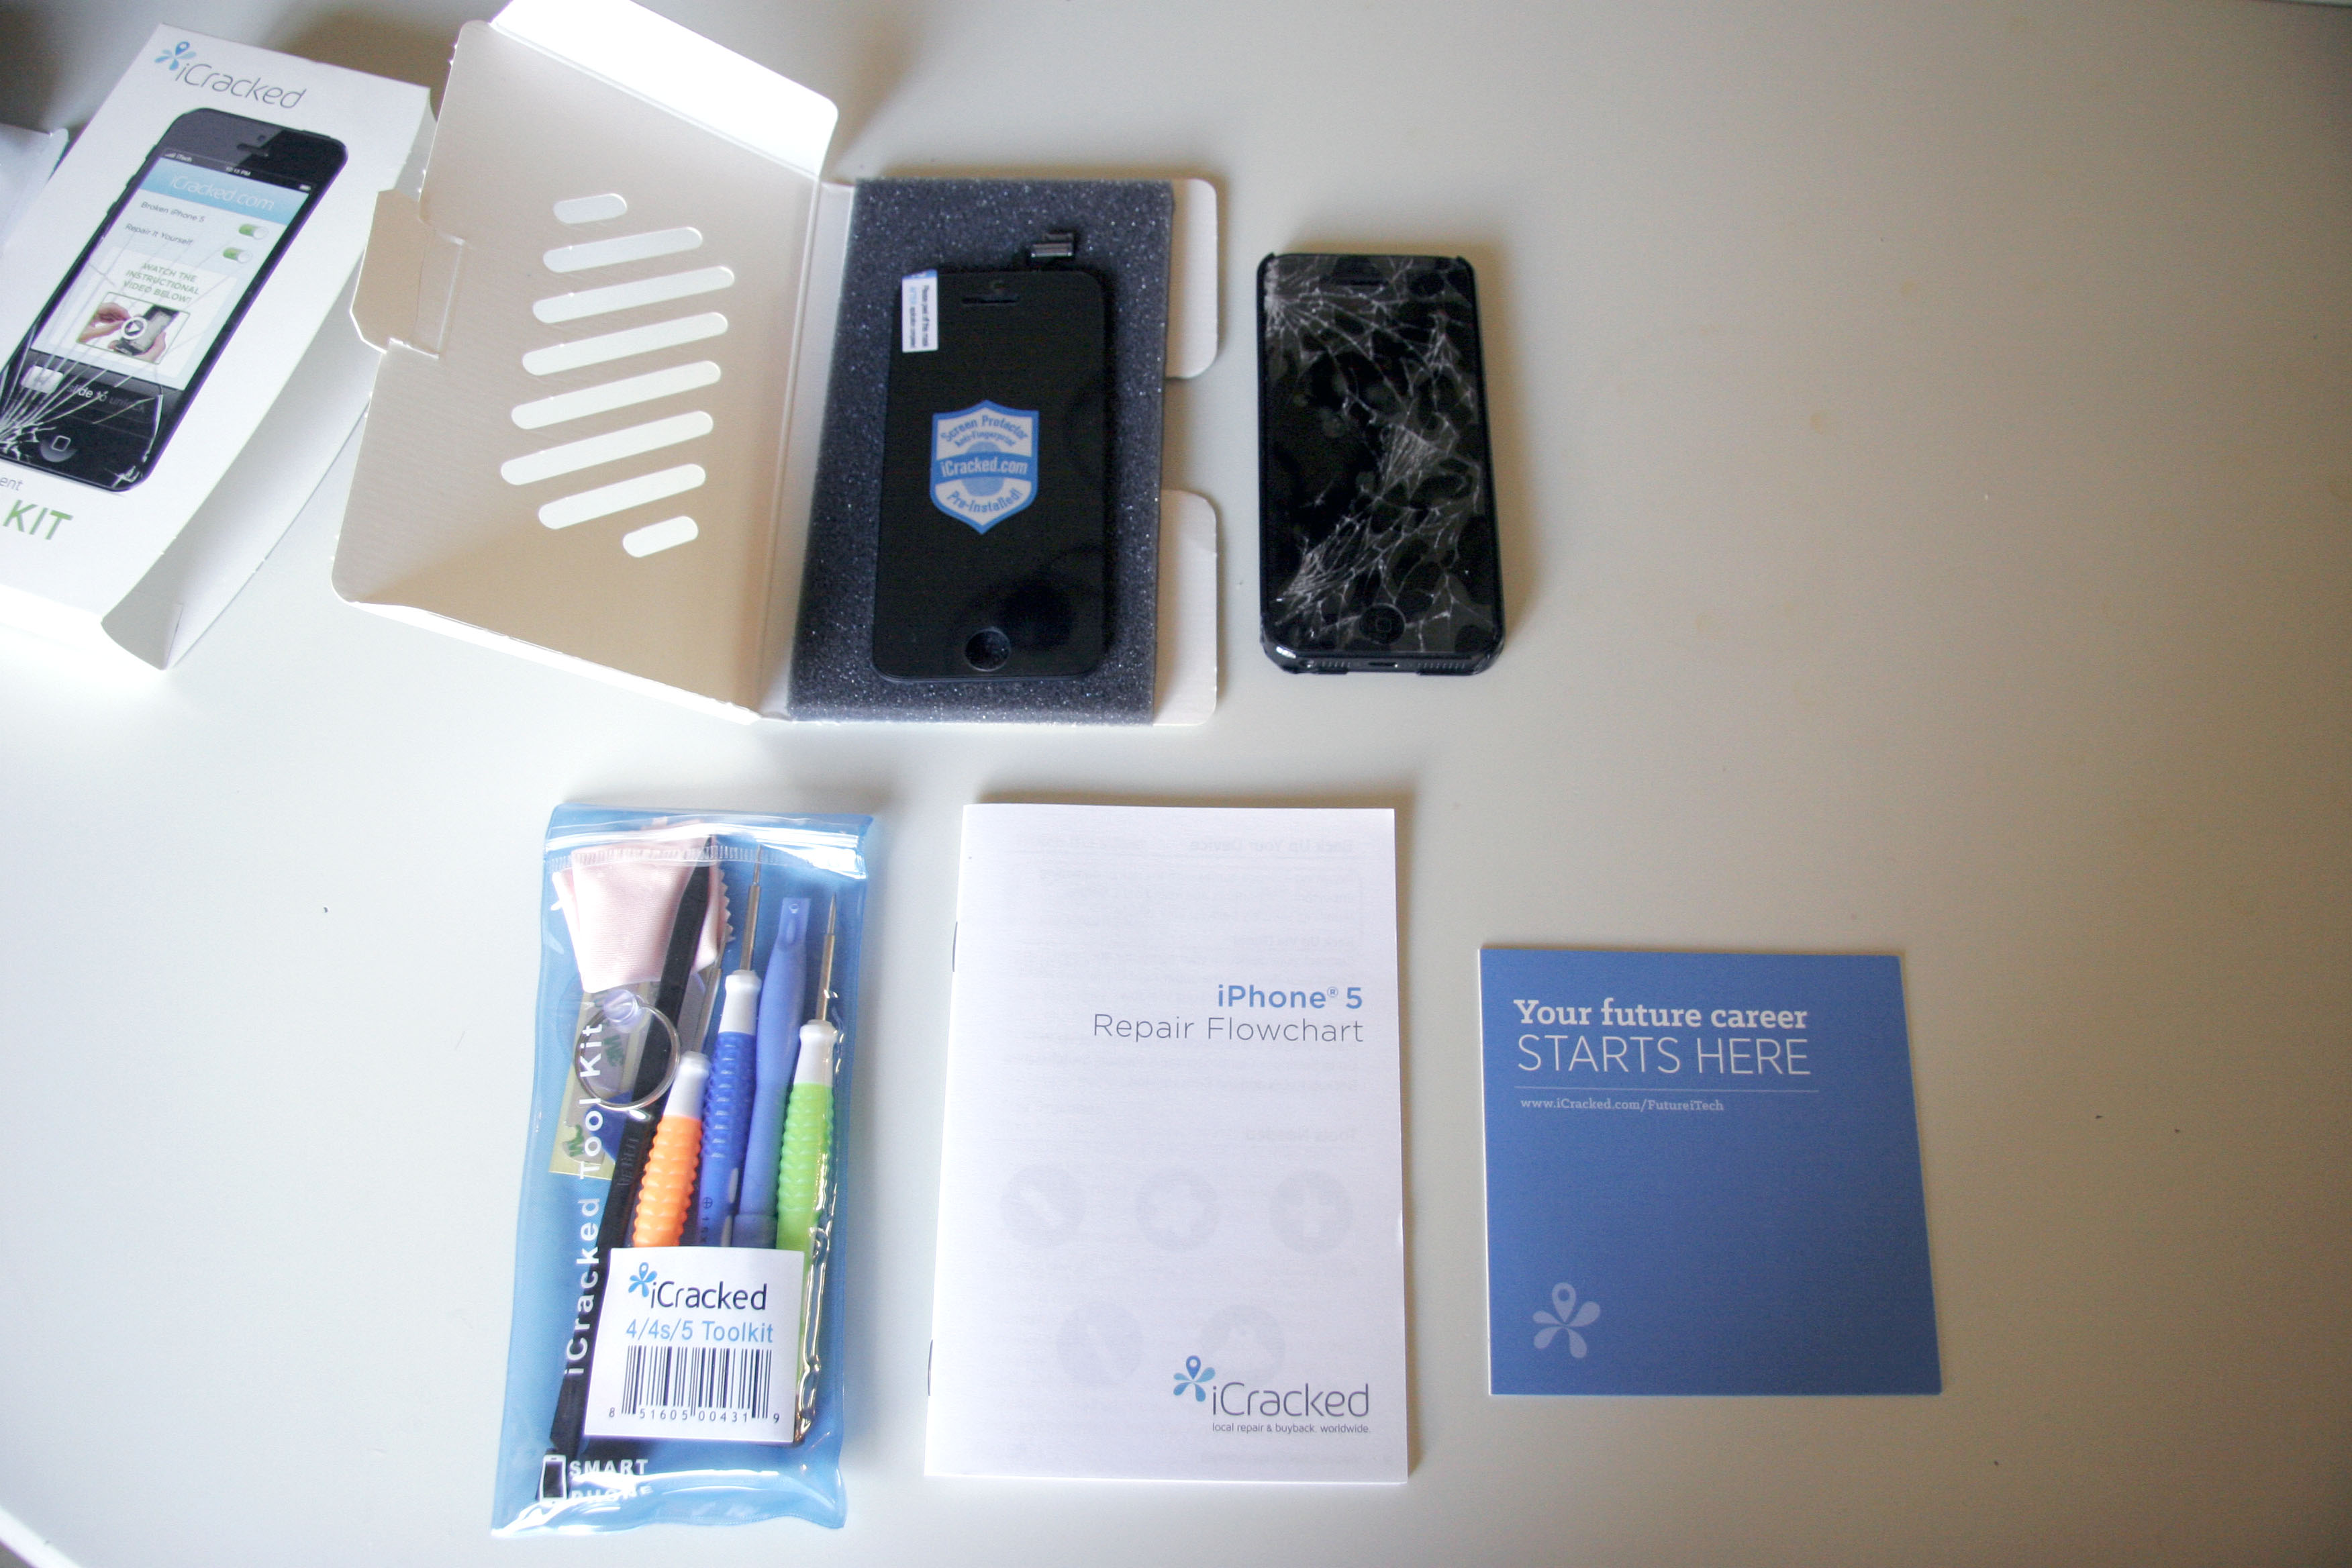
I ended up purchasing this kit, which comes with a complete toolkit, screen protector, replacement screen and very detailed instructions:
iPhone 5 (AT&T/Verizon/Sprint) Premium Screen Replacement & Repair Kit – Black
Awesome, possum.
Got it two days later (thanks, Amazon Prime!), and today I decided to dive in.
I won’t repeat the instructions (the book is very detailed, and easy to follow), but you have to pay close attention to what they’re saying.
How to Repair a Broken iPhone 5 Screen Yourself
Basically, these are the 7 steps you’re going to take:
- Do a full backup of the phone.
- Turn off the phone!
- Remove the screen assembly from the phone
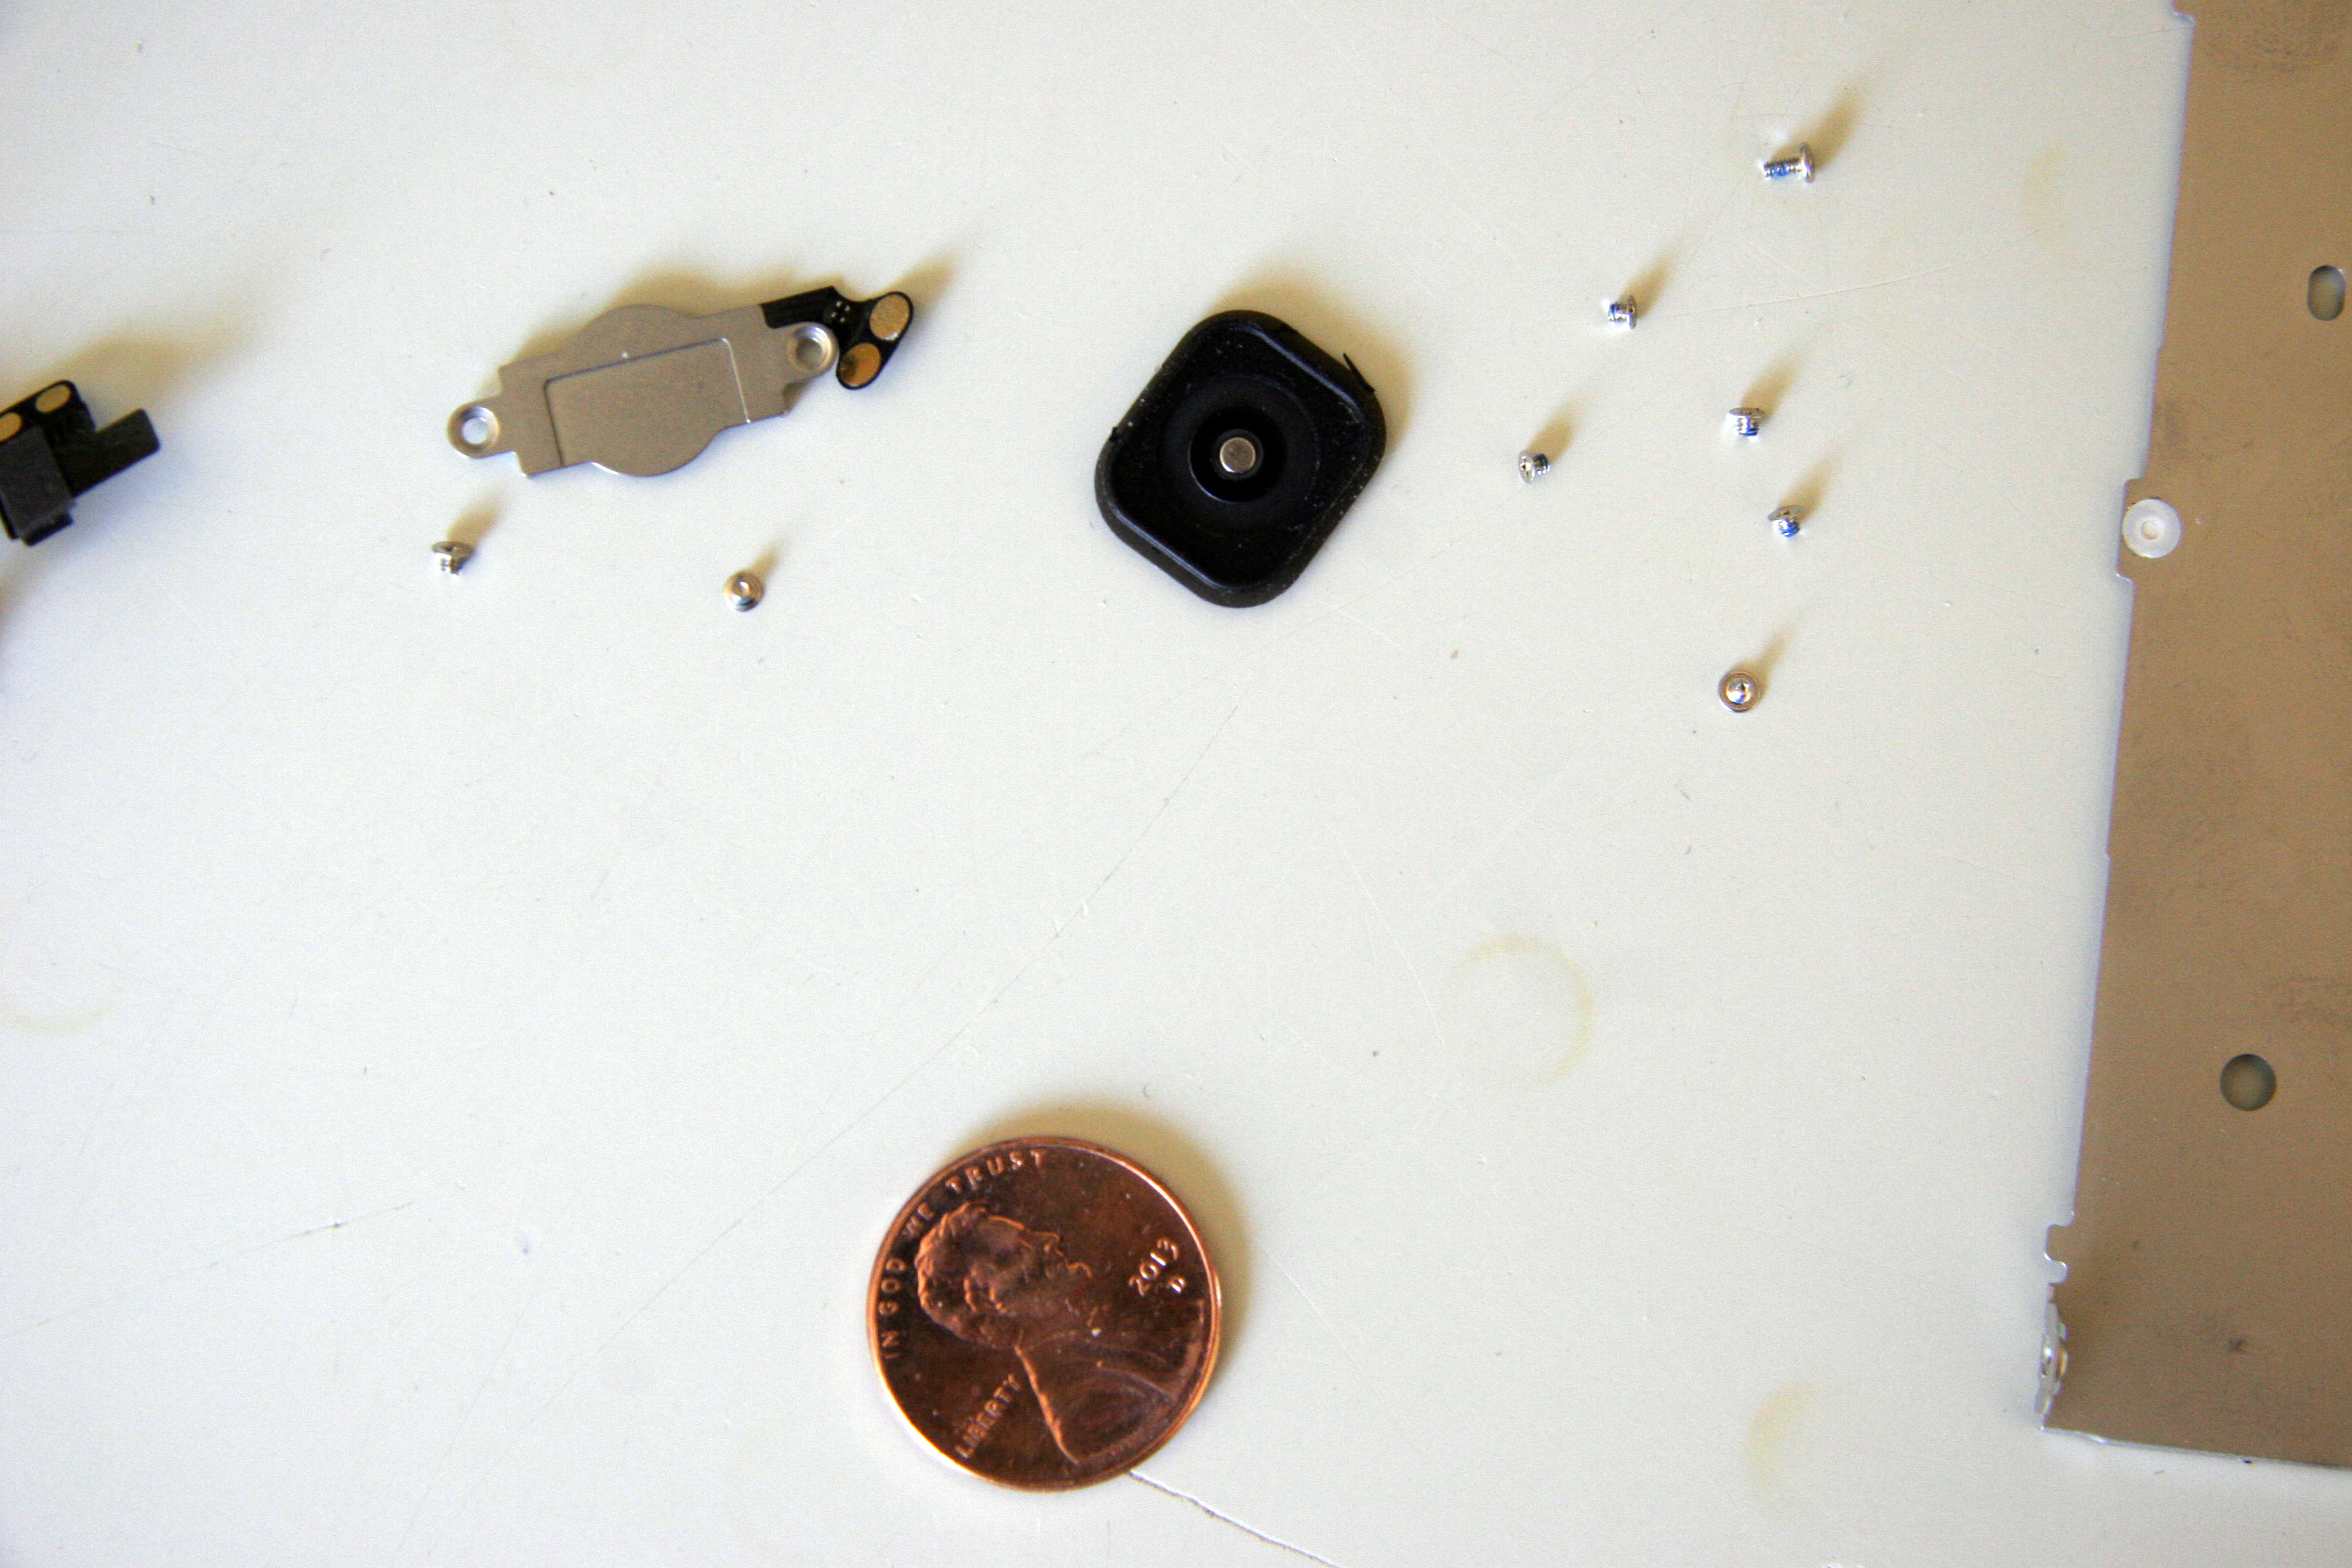
- Disassemble the screen assembly, being VERY careful to keep track of the tiny bits and screws
- Put the parts back in the new screen, reversing your disassembly steps
- Reconnect the screen, then the battery, and test it (note the menu button will NOT work with the screen out)
- Turn off the phone, and reassemble the screen back into the phone
All in all, it wasn’t terribly difficult.
The biggest difficulty I had was getting the old screen out of the phone.
They include a suction cup and pry tool, but because my screen was so cracked, it wouldn’t stick.
They suggested putting packing tape on the screen, then the suction cup, but that didn’t work for me.
So I fashioned a handle with some duct tape and stuck that onto the broken screen to finally pull it out.
Some extra tools that I found came in handy included:
- Tweezers – the screws are practically microscopic, and were hard for me to handle nimbly
- A blow dryer – to warm and loosen some of the adhesive holding parts in place. Be CAREFUL to do this AWAY from all your carefully-laid-out bits, screws and parts. You don’t want to blow them away or out of order! If you blow the screws off the table, I promise, you’ll NEVER find them again.
- A magnifying glass or at a minimum reading glasses
- A good bright light to illuminate your work
My tired old eyes couldn’t see the tiny screws very well, so it was a bit of a challenge for me.
My “readers” were critical, and the bright light helped too.
Move very deliberately and follow the instructions explicitly. You don’t want to screw it up, and end up with a broken cable.
My advice is to work on a white, clean table, and as you remove parts, keep them very carefully in order.
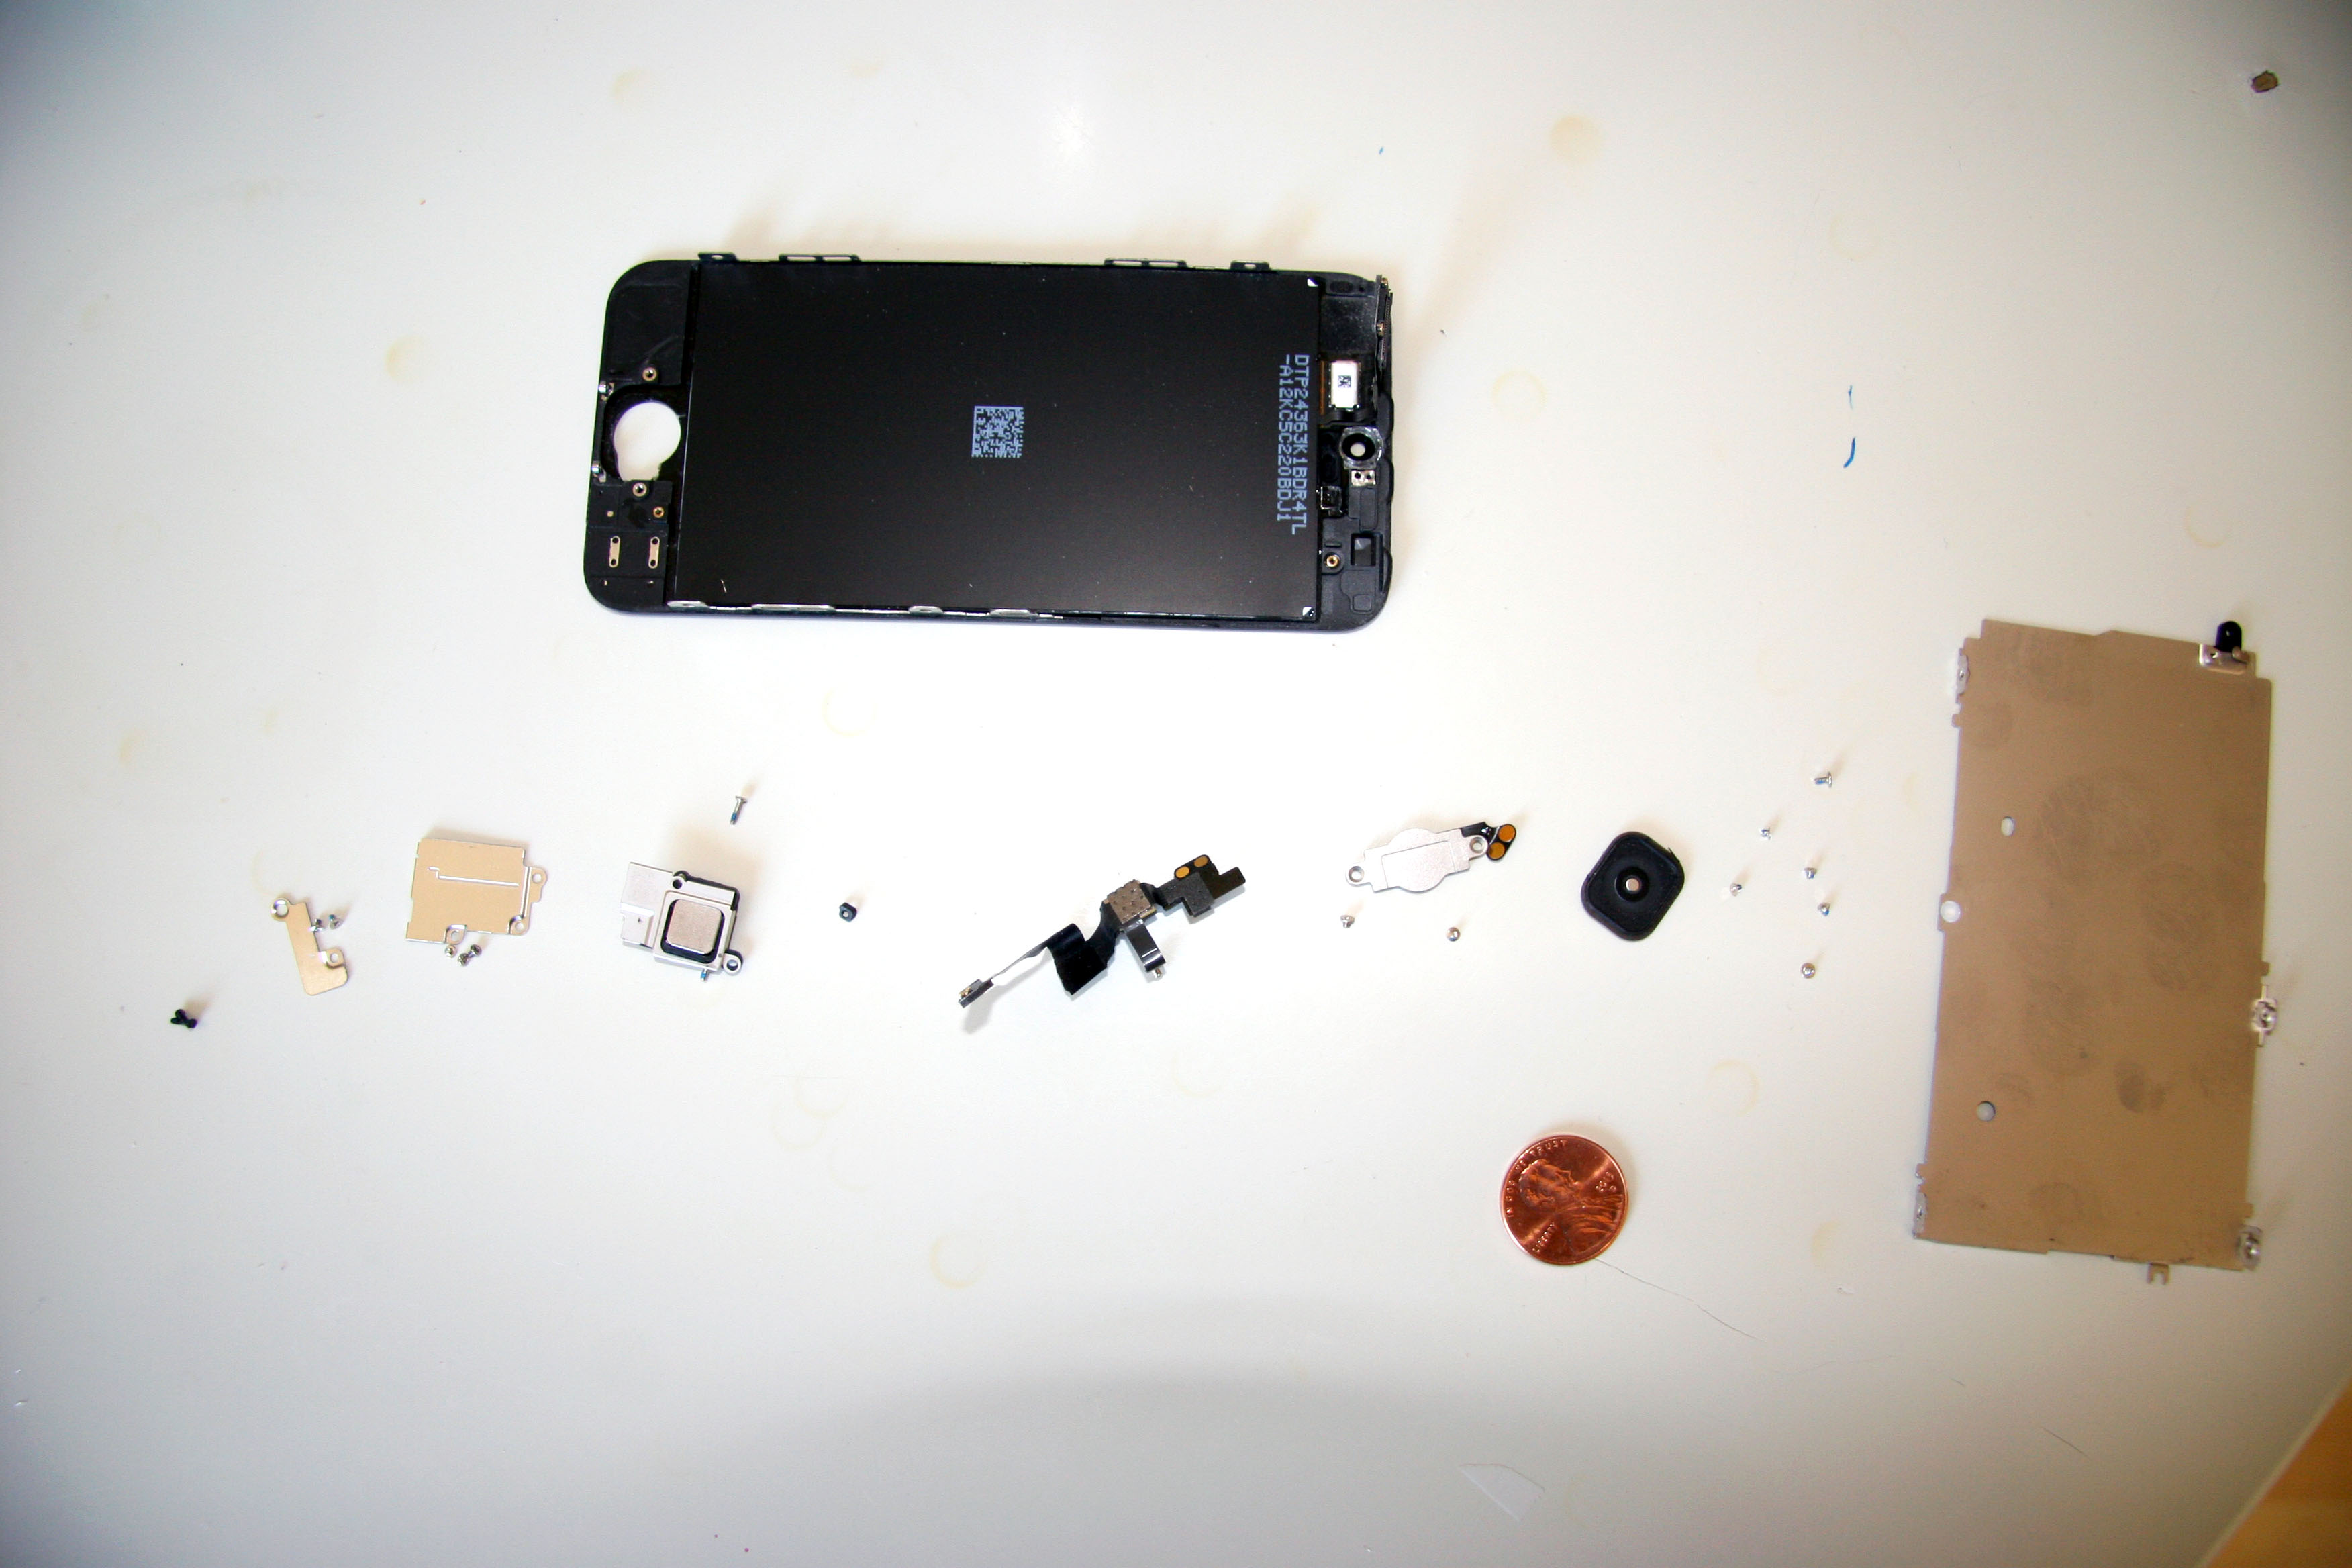
Some of the screws are different sizes, even coming out of the same bracket, so you have to keep track of which one(s) are which.
As you reassemble, you just reverse the order. (See the photo below.)
iCracked has a shipping label to send the broken screen back, and they’ll recycle it responsibly. Nice.
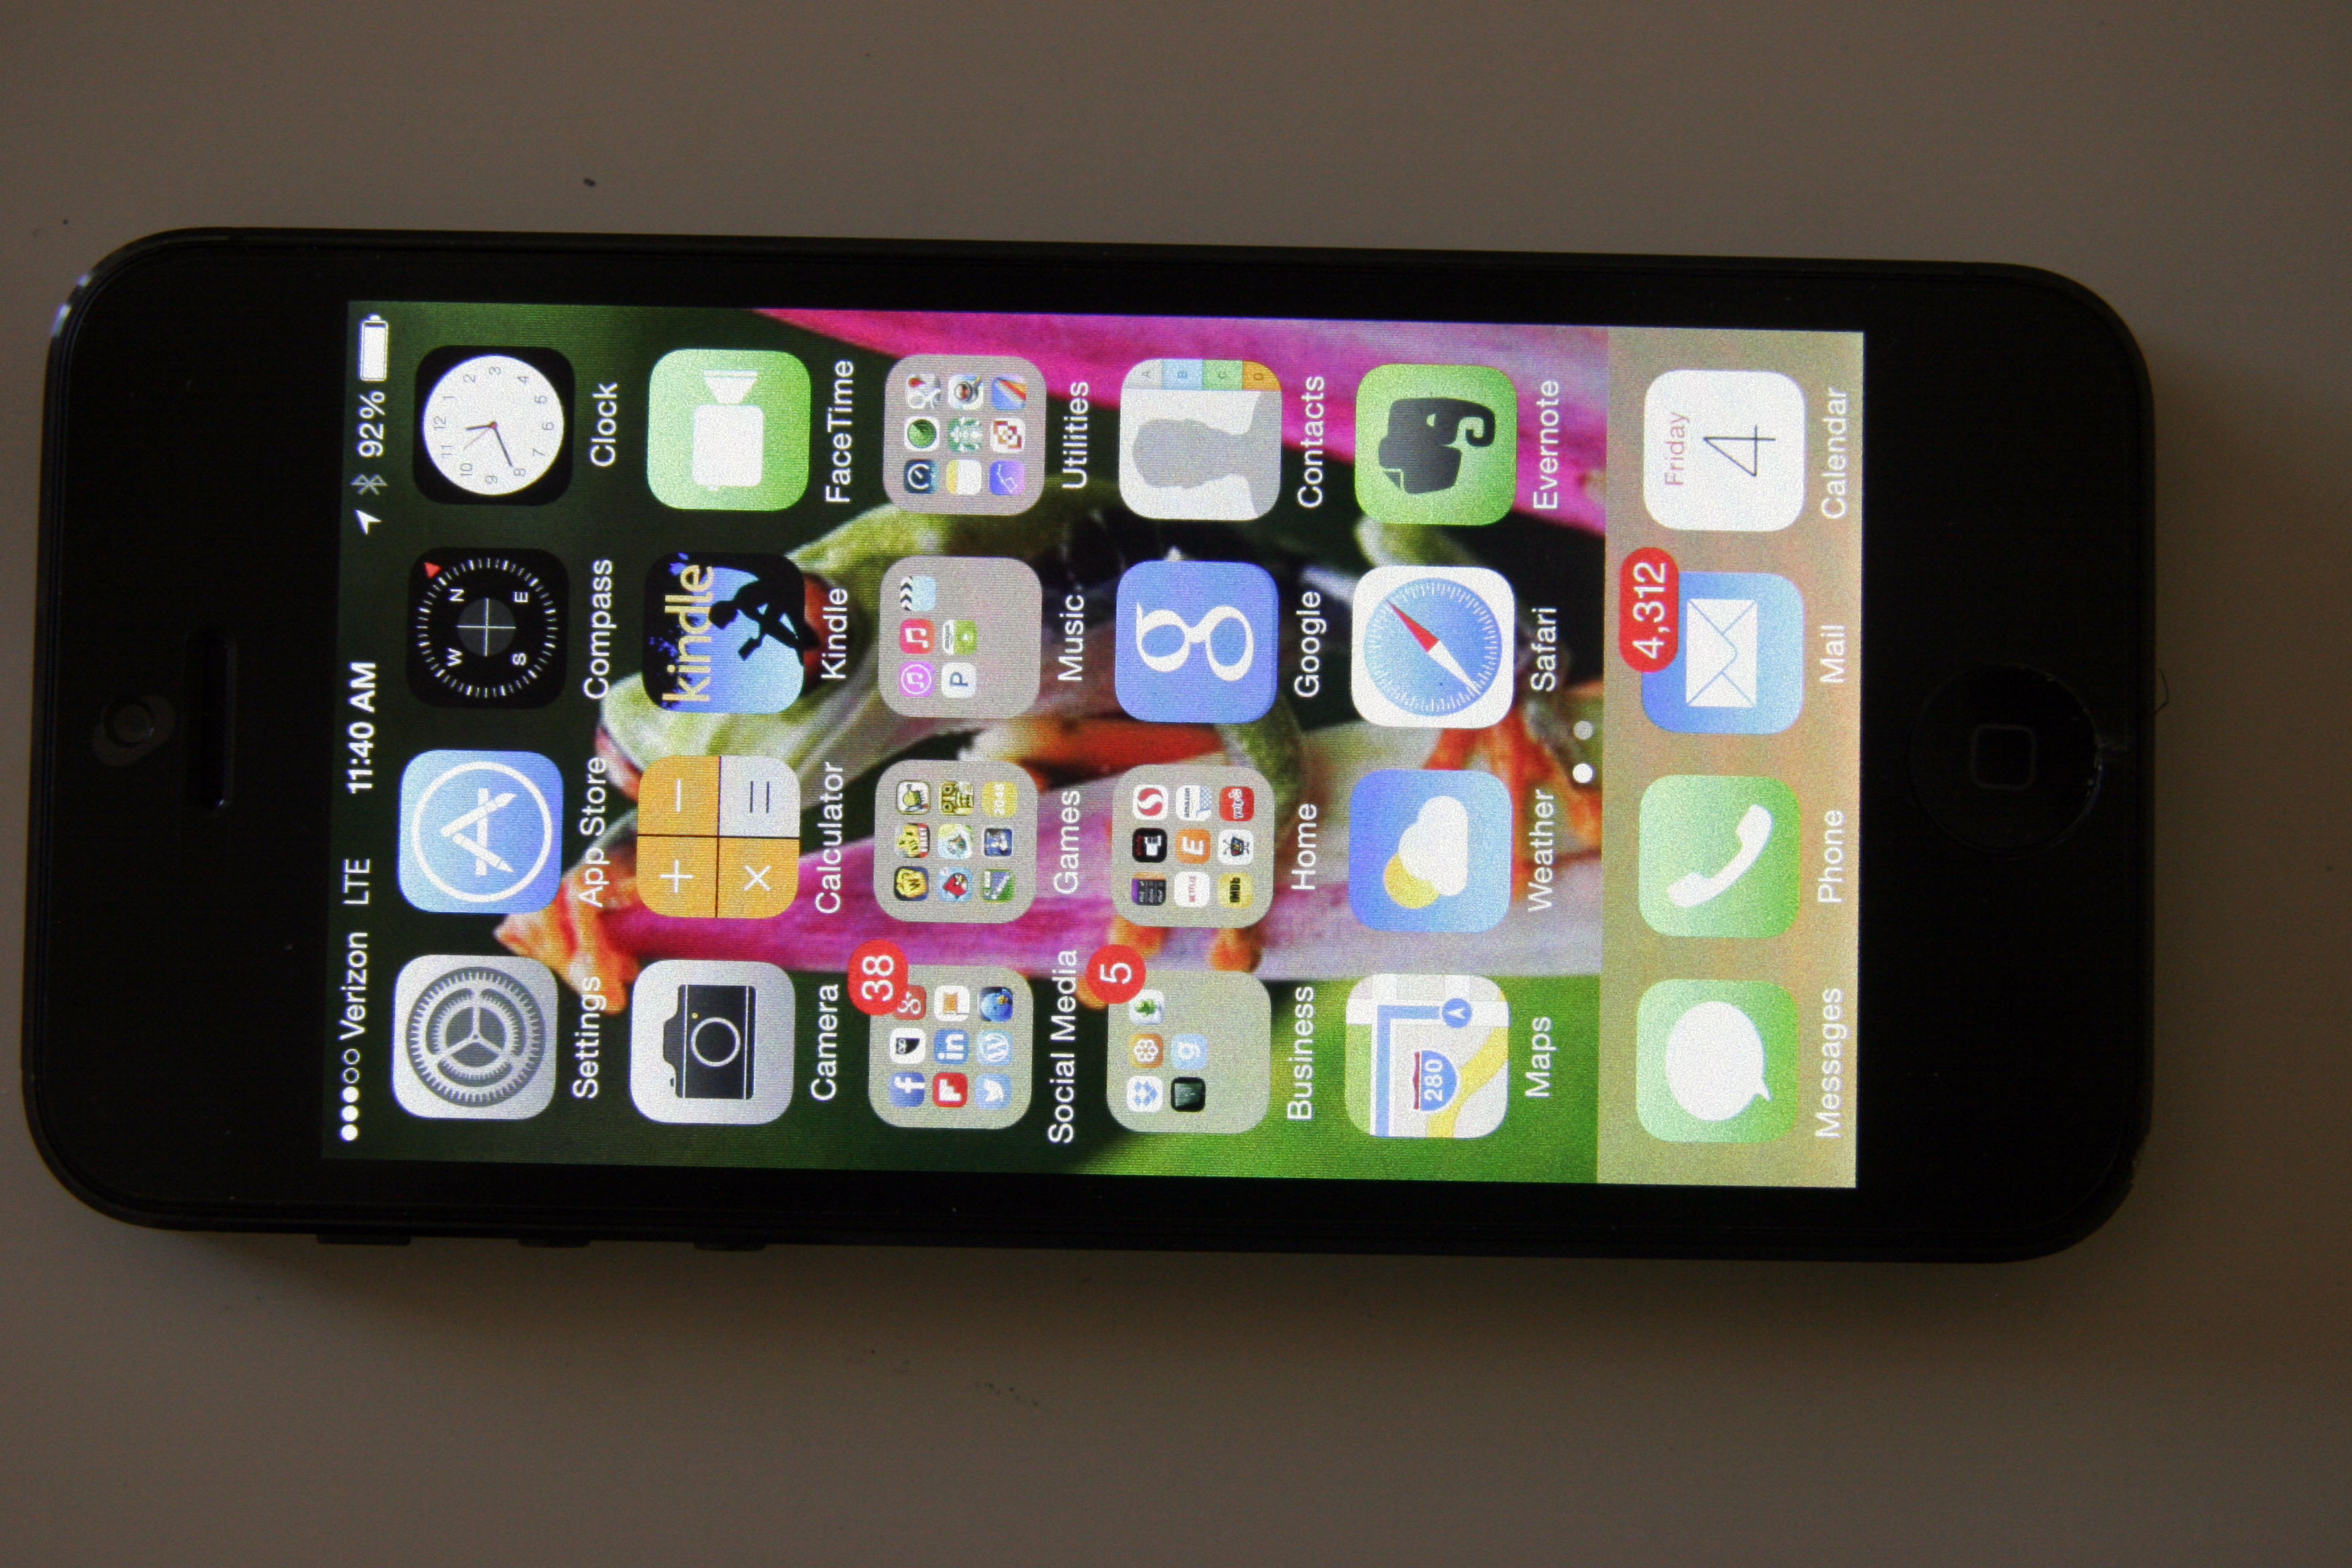
It took me 90 minutes start to finish, and I must say that I’m very happy with the results.
DIY-ers unite!
If it went well, iCracked will even offer you a job as a roving technician to make money on the side.
IMPORTANT DISCLAIMER:
There is always an inherent risk in any D.I.Y. project.
You might lose an important piece, break an important part, or go insane attempting a project on your own (*Ok. The last thing listed probably won’t happen, but you might feel this way! 🙂 )
Please attempt this at your own risk (and your phone’s own risk).
BayBusinessHelp.com is NOT responsible for any personal loss or loss of digital information that you might incur from attempting this.
This post is merely for educational purposes and is not a suggested course of action for any or all.
*If you are not able to accommodate the potential loss of data or afford the cost of a new iPhone, then please consider other options.
Related article
- Mining Your iPhone For Gold? Literally? (INFOGRAPHIC) (baybusinesshelp.com)
